

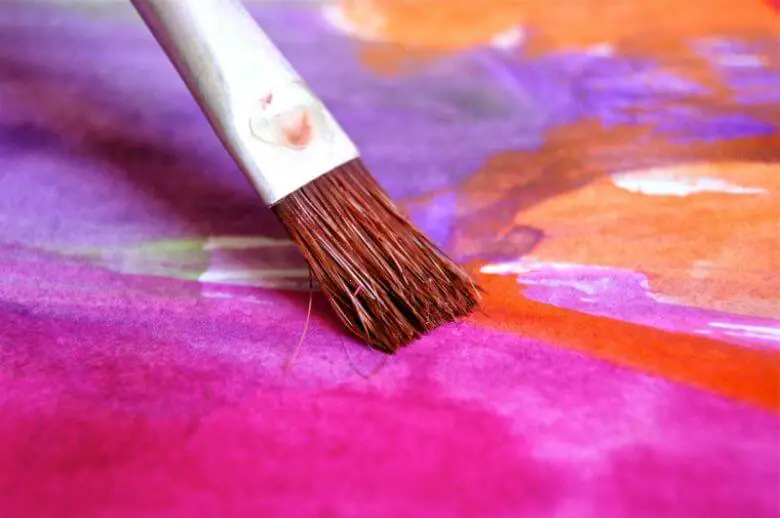
How To Paint Out Of Focus Background Using Watercolor
At that place's a popular impression that watercolors are tricky and unforgiving. When I started out, I'd look at master watercolor paintings and wonder if I'll ever become there!
Simply watercolors don't need to exist hard…
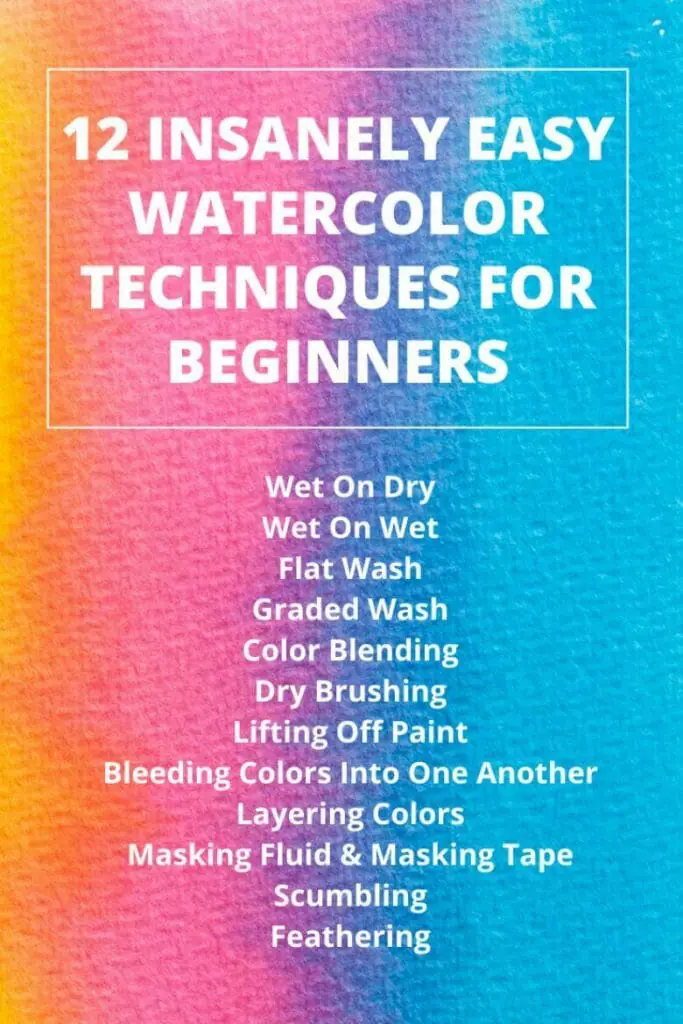
To help you on your artist journey, I've put together a simple guide of the 12 easiest watercolor techniques.
Each technique is explained with unproblematic steps, tips on how y'all can use them in paintings, and video references. By the terminate you'll have the language of watercolor on your fingertips!
Is Watercolor painting difficult?
Not at all, if you start on the correct foot. Earlier tackling a complete painting, information technology is essential to become the basic foundations right. First with simple watercolor techniques, used by even the aquarelle maestros.
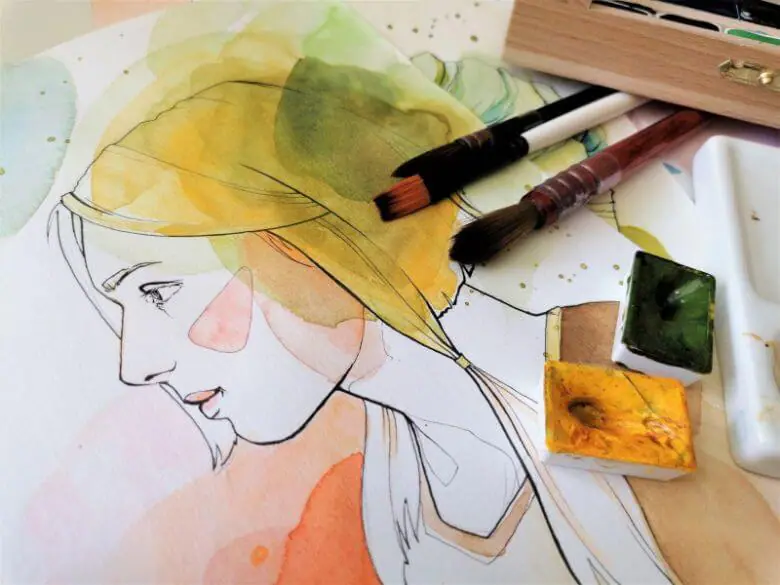
Setting Up Your Watercolor Workspace
Having an organized workspace makes information technology easier to paint. For painting with watercolor, I make certain I have the following:
- Watercolor paper taped to a board using masking tape; this volition help you lot to keep the sheet at an angle
- Two jars of water; one for rinsing and the other for applying clean water
- Medium and a large size brushes with soft beard
- My favourite watercolor paints
- White ceramic bowls or palette with deep wells
- Paper towel
What are the unlike watercolor techniques?
There are myriad variations of watercolor techniques. Thankfully, there are just 12 basic techniques that you can build on to create whatsoever effect you want.
I've broken each of these techniques into simple steps and shown how y'all can play and practice.
Wet On Dry out
This is the easiest watercolor technique. You'll demand it to paint details, sharp edges and defined shapes. Considering the surface is dry, paint will only move in the direction you pull information technology.
Wet on dry out – stroke do practise
- Get-go with a dry out surface. You'll get different results on cold pressed and hot pressed watercolor newspaper.
- Moist a medium-size brush with clean water and pick upwards some paint. Water dilutes paint. So, experiment with the amount of water, and meet how the transparency of the paint changes.
- Apply a elementary shape outline, like a circle or a rectangle. Apply smooth strokes in the aforementioned management to fill it in. I like to start with modest shapes, so that I can paint them speedily before it gets dry.
- When the shape is completely dry, option upwardly some more of the same paint and pigment a smaller shape over a function of the first shape.
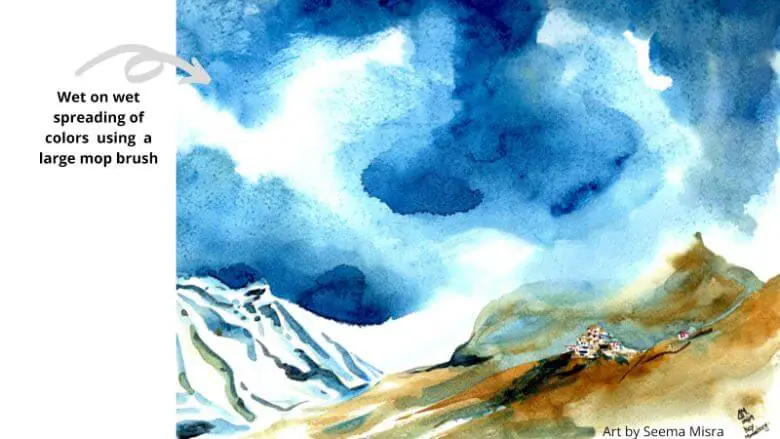
Moisture On Wet
With this technique you'll learn to let the watercolors exercise the painting for you lot. Wet On Wet painting techniques create flowing, abstract shapes with different colors blending into each other. Perfect for painting cloudy skies, soft shadows, distant landscapes and even flowing costumes.
Moisture on wet – stroke do practise
- Keep your watercolor sheet at a 45 degree angle.
- Apply a generous amount of water on the painting surface.
- Pick up some watercolor with a wet brush and dab it on the wet surface. Yous'll see the color blooms out to course abstract, organic shapes.
- Now, option upward some more paint and try making some short lines. Find how all the shapes have soft, fuzzy edges.
Flat Wash
A apartment wash is an even layer of paint without whatever variations. You'll need to chief this technique for layering colors. It works on both dry and wet paper; however I suggest trying it out on a dry paper first equally information technology is easier to get a smoothen awarding.
Even flat wash on dry paper – stroke do exercise
- Mix a fairly large amount of color with water (in a 50:50 ratio).
- Start with dry newspaper at a 45 degree bending. Apply one stroke of pigment using a big, evenly-loaded brush. I find moving my paw from the shoulder, in one fluid motion, creates even strokes. I as well keep my brush parallel to the newspaper.
- You lot'll see a dewdrop of colour gathering at the lesser of the stroke. Utilise another stroke. Touch the border of your first stroke and gently gather and spread that bead of color.
- Keep repeating this until you have an evenly colored spread on the paper. If your brush becomes also dry, selection upward some more of the color mix. Absorb your brush on a paper towel, and so that it is evenly loaded.
- At the end of your wash, yous'll notice a bead of colour at the bottom. Take a dry brush and soak upwardly this bead.
Graded Wash
A graded wash moves from night to light. You'll find this useful for sunrise paintings, analogy backgrounds and distant landscapes. Similar to a flat wash, you can paint with watercolor on both dry and wet surfaces.
Nighttime to light wash – stroke do do
- Load a large brush with thick, wet paint. And, just drag information technology across dry paper.
- Dip your castor in water and rinse it slightly. Now utilise another horizontal stroke touching the outset stroke. Dilute the paint by adding water for each stroke.
- For the last few strokes, use clear h2o and the color from the previous stroke. This will create the lighter tones. The colour should get lighter with every stroke.
- End with mopping upwardly the extra color.
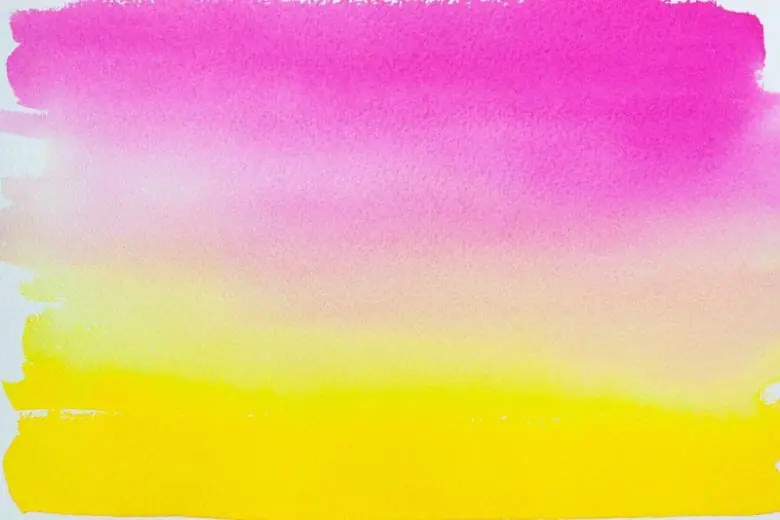
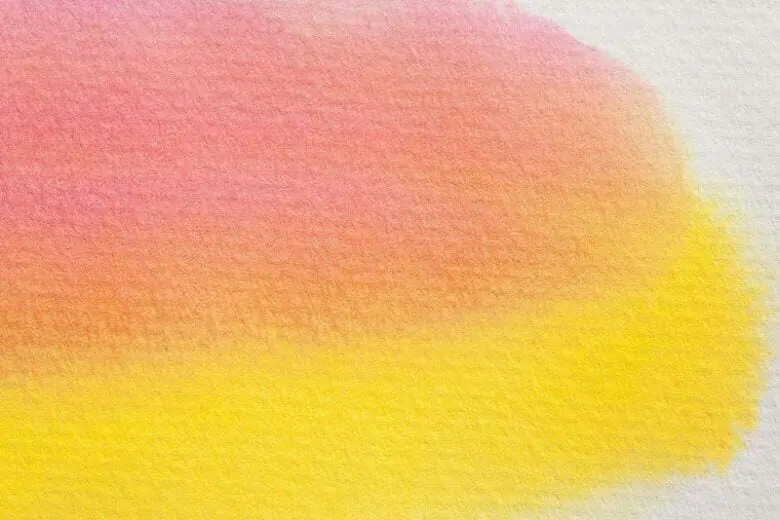
Color Blending
Graded launder and colour blending are similar watercolor techniques. Withal, with color blending you lot slowly blend one color with another. I use this technique to show the irresolute colors during sunrise and sunsets.
Mixing ii colors – stroke practise exercise
- Selection 2 colors. Offset with the starting time color, and move down, slowly adding more h2o. Continue your strokes smooth and in one management.
- Then, we selection the second color. Paint from the bottom, and go along calculation more h2o as yous paint up (towards the showtime color). The two colors should encounter in the middle.
- If the surface is still wet, both colors volition blend together beautifully. To control the blending, gently employ a stroke of clean water.
Tip: Option colors that complement each other to avoid dingy areas. Xanthous and green, bluish and green, and red and orange are some adept colour combinations.
Dry out Brushing
One of my favourite techniques to use with cold press paper texture is dry brushing. The textured marks work really well to betoken fur, wood, rough basis, and reflections on h2o.
Experiment with texture – stroke exercise do
- Make a thick paint mix.
- Use a dry, flat brush to option the paint, blotting information technology to ensure it remains dry out.
- Softly, sweep the castor across at an angle.
- You'll find it creates an interesting texture. Experiment using this technique on dried watercolor washes.
Annotation: With this technique, the color won't lighten on drying.
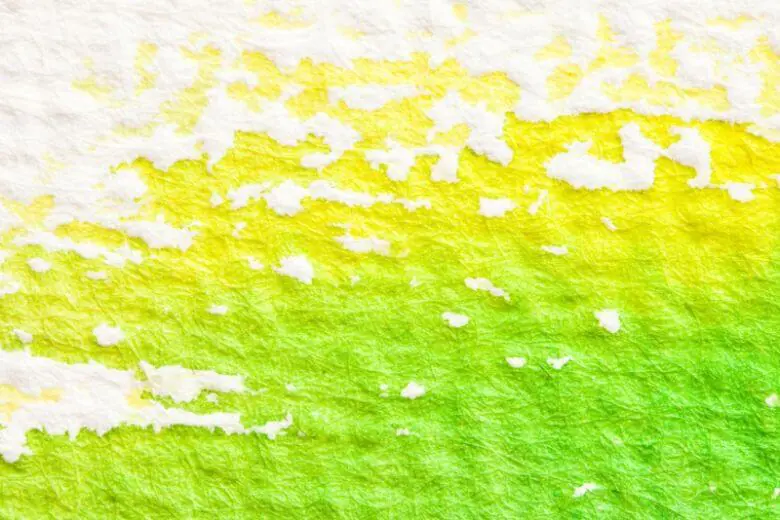
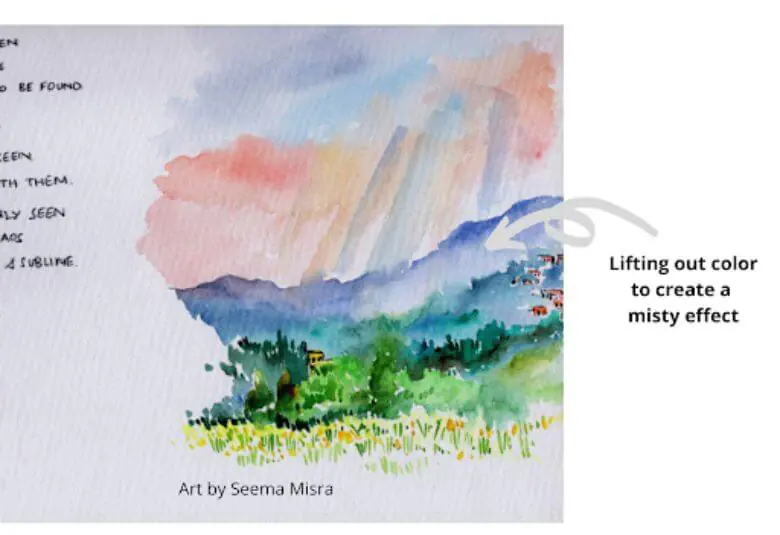
Lifting Off Paint
You lot'll want to lift paint sometimes, to create highlights or correct a stroke. Thankfully, there are ii effective ways to exercise this.
Lifting Off Wet Watercolor
- Dry your brush on tissue or cloth and bear upon it to the area where yous want to lift the color.
- Y'all'll find the dry bristles soaks upwardly the colour. Repeat, if needed.
Tip: To elevator large, abstract patches (for clouds on the sky) I utilise a crumpled bit of clean tissue paper.
Lifting Off Dry Watercolor
- Apply clear h2o on the surface.
- Await for a few seconds, and then elevator the colour with a dry out brush or a tissue. You'll need to be very gentle and soft, to avoid tearing the sheet. Using 100% cotton watercolor paper helps!
Bleeding Colors Into One Another
Bleeding is a slightly more than complex version of moisture in moisture technique, where you'll become spontaneous blends of colors.
Play with colors – stroke practice practise
- Use two complementary colors, similar Quinacridone Rose and Ultramarine Blueish. Mix in some water, aiming for a milk similar consistency for both colors.
- At present, use some Quinacridone Rose to a wet surface. Wait for a few seconds while the color spreads out.
- And then, with a make clean castor employ the Ultramarine Blue within the first wash, preferably at a corner. You'll notice that both colors alloy in creating subtle gradients.
Layering Colors
Layering, also known every bit glazing, is used to make detail oriented, and slowly washed paintings with watercolors. Information technology is one of the more fourth dimension consuming techniques.
Layer colors – stroke practice practise
- Apply a layer of light, wet paint on white paper. Utilise whatever color of your selection and remember to use a large amount of water, as the offset layer should exist very low-cal.
- Once the wash is completely dry, have a different color (watered downward) and apply ii to three strokes on top of the first wash.
- One time the layer is completely dry, add another layer. Keep edifice layers, using the aforementioned or different colors, to create colour variations and values.
Note: It is essential that the paper is absolutely dry out, then that the colors don't blend and go muddy. Many artists use a hairdryer to speed up the process.
Masking Fluid & Masking Tape
Exercise you find leaving those white newspaper highlights difficult while painting watercolor? That's where masking fluid and masking tape watercolor techniques come in employ.
Using Masking Fluid Techniques
Masking fluid is a beige or blueish rubbery fluid.
- Apply the masking fluid to those areas of your subject that get maximum calorie-free.
- Use a cheap castor or a nib to apply the fluid. Let it dry.
- Now go on with your painting. In one case the paint has dried out, you tin remove the masking fluid for pure white highlights.
Using Masking Record Techniques
Masking tape is very useful to secure your newspaper to the board and create a clean boundary for your artwork. You can even employ the tape to block the horizon line, which is very handy in landscape watercolor painting.
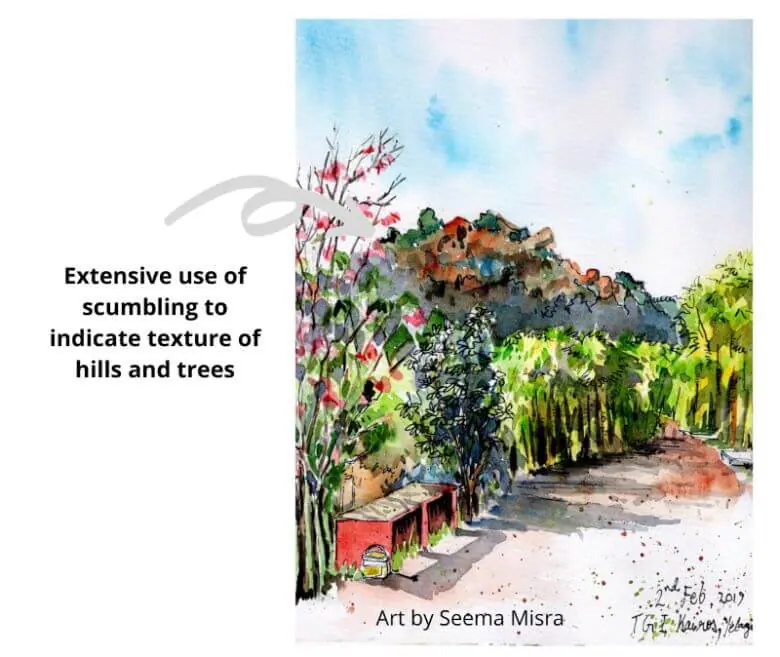
Scumbling
Scumbling is a watercolor painting technique used to create a textured effect, add depth and mood to a painting, or smoothen transition from i colour to the other. You'll find this watercolor technique very useful for painting leaf.
Making scumbling marks – stroke exercise exercise
- Have a fairly loaded round brush and apply sporadic rounded marks. Hold your brush almost parallel to the surface for spontaneous paint marks.
- Make bouncy, slightly scrubby movements with a frail bear upon.
- You lot can let the layer dry out and then add in some other colour, or use a moisture on wet arroyo.
Feathering
Sometimes y'all volition want to soften the edges of a launder while painting by watercolor. To convey far away, misty shapes similar ships on the horizon. Here's where you tin use the feathering technique.
Soften difficult edges – stroke practice exercise
- Apply a flat, thick stroke of color in a rectangle shape. Now, choose one edge that you lot want to lose.
- Take a medium brush with clean water and dab off extra moisture. Now, apply a clean stroke of water near the edge that you want to soften.
- Glide the tip of your castor very softly along the border. Y'all'll notice it spreads out into the color, with the sharp edge blurring out.
Focus on Process, Not Perfection
Practice these watercolor painting techniques past using them to paint unproblematic objects, like fruits or java mugs. Be fearless and simply have fun with the watercolor painting process.
Don't worry about making mistakes, it'due south all part of the learning feel.
And, comment below, what is your favourite watercolor technique?

How To Paint Out Of Focus Background Using Watercolor,
Source: https://artignition.com/watercolor-techniques/
Posted by: davisstectint.blogspot.com
0 Response to "How To Paint Out Of Focus Background Using Watercolor"
Post a Comment